
Roswell Wood Flooring brings more than 20 years of wood floor refinishing to Roswell, GA, serving surrounding cities including Alpharetta, Dunwoody, Milton, Sandy Springs and Johns Creek. We sand, stain and refinish oak, pine and maple floors, and we decide how deep to go only after measuring the wood that is left.
Most refinishing jobs here involve red oak laid in the 1980s and 1990s, often with an old oil-based finish that has turned orange. Those floors usually have plenty of life left, so our first step is checking the thickness above the tongue rather than recommending replacement. A floor with enough wood can be sanded, recolored and sealed for a fraction of the cost of new hardwood.
We also check what the floor is telling us before we sand it. Cupping, soft spots or a musty smell mean there is a moisture problem, and sanding over it only hides the symptom for a season.
What We Check Before Sanding
Wood Left Above the Tongue
Every sanding removes a thin layer of wood, and there is only so much above the tongue before nails and gaps start to show. We pull a floor vent or threshold to see the board’s profile and measure it. That tells us whether a full sanding is safe or whether a lighter screen and recoat is the smarter choice.
Engineered floors need the same check even more. Their wear layer can be thick enough for one or two sandings, or so thin that a drum sander would cut straight through it. We identify which kind of floor you have before we quote.
Moisture Readings and Cupped Boards
A cupped floor sanded flat while the boards are still wet will crown once they dry, leaving the centers lower than the edges. Before refinishing any cupped or clammy floor, we take moisture meter readings in the boards and the subfloor. If readings are high, we find the source first, whether that is a crawl space, a leak or summer humidity.
Only once the wood has returned to normal moisture do we sand. That wait can feel slow, but it is the difference between a flat floor and one that moves again after the finish cures.
Lead Paint and Build Year
Many older homes have painted baseboards, stair risers or even painted floor borders. In a home built before 1978, sanding those surfaces can release lead dust. We ask the build year and inspect painted surfaces before sanding, and where lead is present, we follow the lead-safe practices of the EPA RRP Rule.
That can mean containing the room, protecting the trim, or leaving painted risers for a separate process rather than running a sander across them. It adds a step to the job, but it keeps lead dust out of the rest of the house, where children and pets would otherwise be exposed.
Our Wood Floor Refinishing Process
Step 1: Prepare the Room
We move furniture, remove quarter round where needed and cover doorways, vents and cabinets. Loose boards are secured and damaged boards replaced before sanding, so the repairs are refinished along with the rest of the floor. This is also when we fill gaps that will not close with the seasons.
Step 2: Sand Through the Grit Sequence
We sand with a drum sander connected to dust extraction, working through a grit sequence from coarse to fine. Edges and corners are sanded with smaller machines, and a final pass with an orbital sander removes the swirl and chatter marks that show up under stain. Skipping grits is the most common cause of visible scratches after staining.
How coarse we start depends on the floor. A floor with a thin, worn finish may need only a medium first cut, while thick old coatings or deep cupping marks need a heavier start. Choosing the gentlest effective grit saves wood for the next refinish, years from now.
Step 3: Stain Samples on Your Floor
Before staining the room, we lay samples on your sanded floor in your own light. The same stain looks different on red oak and white oak, and different again beside your cabinets. On maple or pine, which absorb stain unevenly, we may water pop or condition the wood first to avoid blotching.
Step 4: Apply the Finish
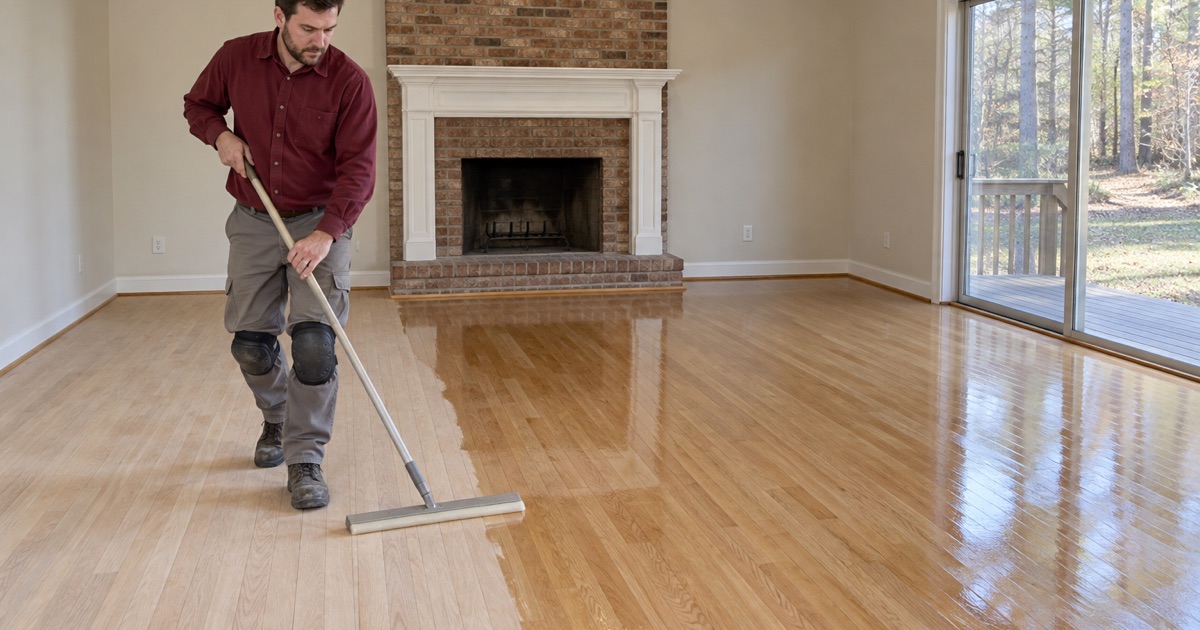
We apply two or three coats of finish, lightly abrading between coats for adhesion. You choose waterborne polyurethane, oil-modified polyurethane or a hardwax oil, and a sheen level from matte to semi-gloss. Each coat is given the drying time the product calls for.
The finish is what takes the wear, so the choice matters as much as the stain. Waterborne finishes stay clear and dry quickly, oil-modified finishes add warmth and depth, and hardwax oil gives a low-sheen look that can be spot repaired. We explain how each one will age in a busy kitchen or a quiet bedroom.
Step 5: Cure and Care
We give you clear dates for light foot traffic, furniture and rugs, since finishes keep curing after they feel dry. We also leave care instructions for the finish you chose. Felt pads under furniture and the right cleaner make a new finish last years longer.
Refinishing Choices for Roswell Homes
Getting Rid of Orange Oak
Oil-modified polyurethane ambers as it ages, which is why so much 1980s and 1990s red oak now looks orange. A full sanding to bare wood removes it, and a clear waterborne finish keeps the new color from yellowing. Many homeowners pair that with a brown, gray or natural stain for a more current look.
Red oak has a natural pink undertone, so very light gray stains can read slightly rosy on it. We show you that on sample boards before you commit. If you want a truly cool, pale floor, we will tell you honestly when white oak would get you there and red oak will not.
Heart Pine and Older Floors
Heart pine and other old-growth floors in older houses deserve a different approach. The wood is resinous and sands unevenly, so we adjust pressure and grits, and we keep as much of the patina as the owner wants. Where boards have to be replaced, we match them to the color of the old floor, not to a catalog sample.
Screen and Recoat as an Alternative
If your floor is dull and lightly scratched but the finish has not worn through to bare wood, a screen and recoat may be all it needs. We abrade the existing finish and apply a fresh coat, with no sanding into the wood. It costs far less, and done every few years, it postpones a full sanding.
A recoat cannot change the color or remove stains, dents or gray areas where the finish has worn through. Floors cleaned for years with polish or oil soap may also need special preparation so the new coat bonds. We test adhesion in a small area first when we are unsure of the floor’s history.
Refinishing Around Real Life
Dust Control and Staying Home
Our sanders feed into dust extraction, so most dust is captured at the machine instead of settling through the house. Many families stay home by moving to another floor while we work. We sequence rooms so a kitchen or a bedroom stays usable for as long as possible.
Finishing days are the harder part, because the rooms must stay closed while each coat dries. Waterborne finishes shorten that window and have less odor, which matters with small children, pets or anyone working from home. We plan those days with you before the first sanding pass.
Refinishing Before a Sale
Sellers often want floors refinished before listing, but a full sanding is not always the best use of money before a closing. Sometimes a few board replacements and a screen and recoat get the same result in photos. We give an honest recommendation that fits the listing date.
HOA Rules in Attached Homes
In townhomes and condominiums, your association’s declaration may restrict work hours or finish types. We ask you to confirm any required written approval before work starts, so the job is not paused halfway through the finish coats.
- 20+ Years on Wood Floors
- Moisture Read Before Sanding
- Stain Samples on Your Floor